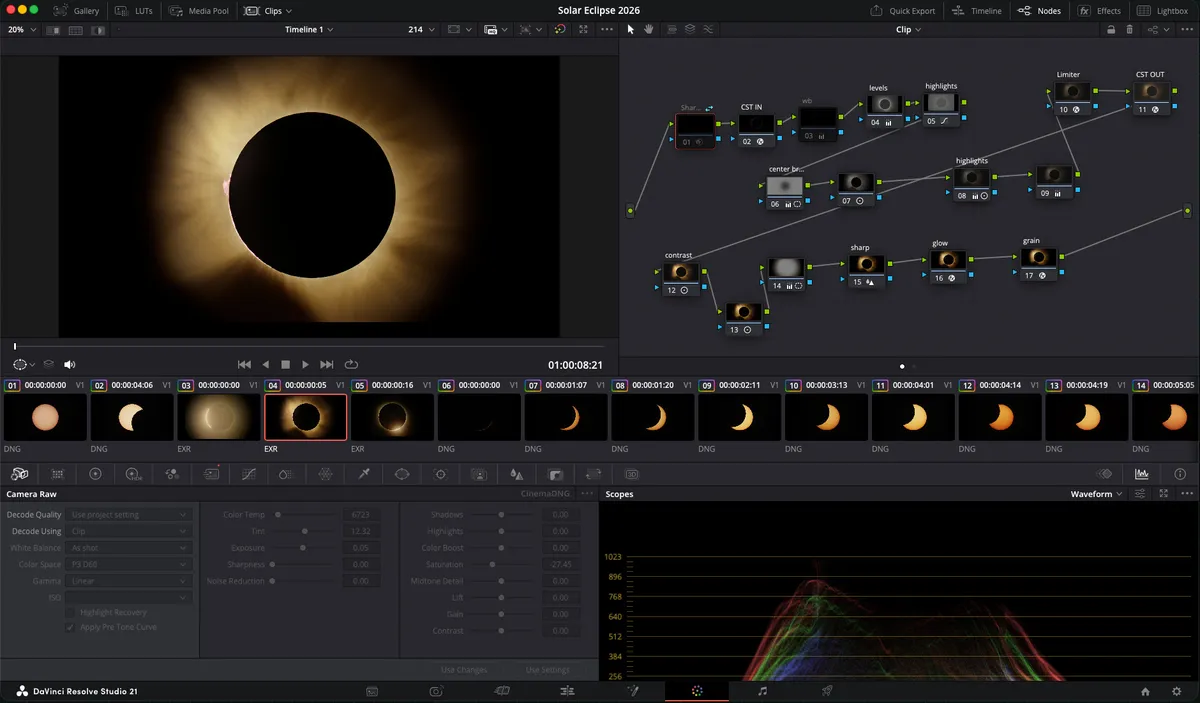
How we made the eclipse timelapse: a step-by-step video tutorial
The whole eclipse as a timelapse, from first to last contact, including the sunset.
That is the finished timelapse. To put it together we had to merge the brackets and align the whole sequence, and we wanted to do it in RAW. We ended up writing two applications. Not long ago that would have been far too much work for a timelapse. Programming with AI agents makes a small custom tool much cheaper to build, so ideas that were not worth the effort before can now be done.
One thing first, in case you look at the repos. I put the code online, but I did not write a single line of it. The agent wrote all of it. Even so, I think both tools are a good starting point for other projects. Code is not the only part — the design decisions, and how each thing should work, are still not made by the AI.
Below is a summary of each stage. The video at the end shows the whole process step by step.
The material
520 RAW frames of the total eclipse of 12 August 2026, shot with a Sigma fp on a Mak 127. Everything is mixed together: some parts have bracketing and some do not, some are shot through a solar filter and some are not (including the last part). No frame lines up with the next one, because the mount drifted and we had to re-centre the Sun by hand. And the exposure changes along the whole sequence.
Merging the brackets: hdrmerge-timelapser
I had known about HDRMerge for years. What I liked about it is that it merges several exposures from RAW files and gives you RAW back. hdrmerge-timelapser does that for a whole timelapse. It reads the EXIF, finds which shots are bracketed and which are not, groups them, and writes a merge plan. You can check that plan shot by shot before it processes anything. The window also lets you adjust each bracket: how smooth the merge is, small alignment fixes, or dropping a frame.
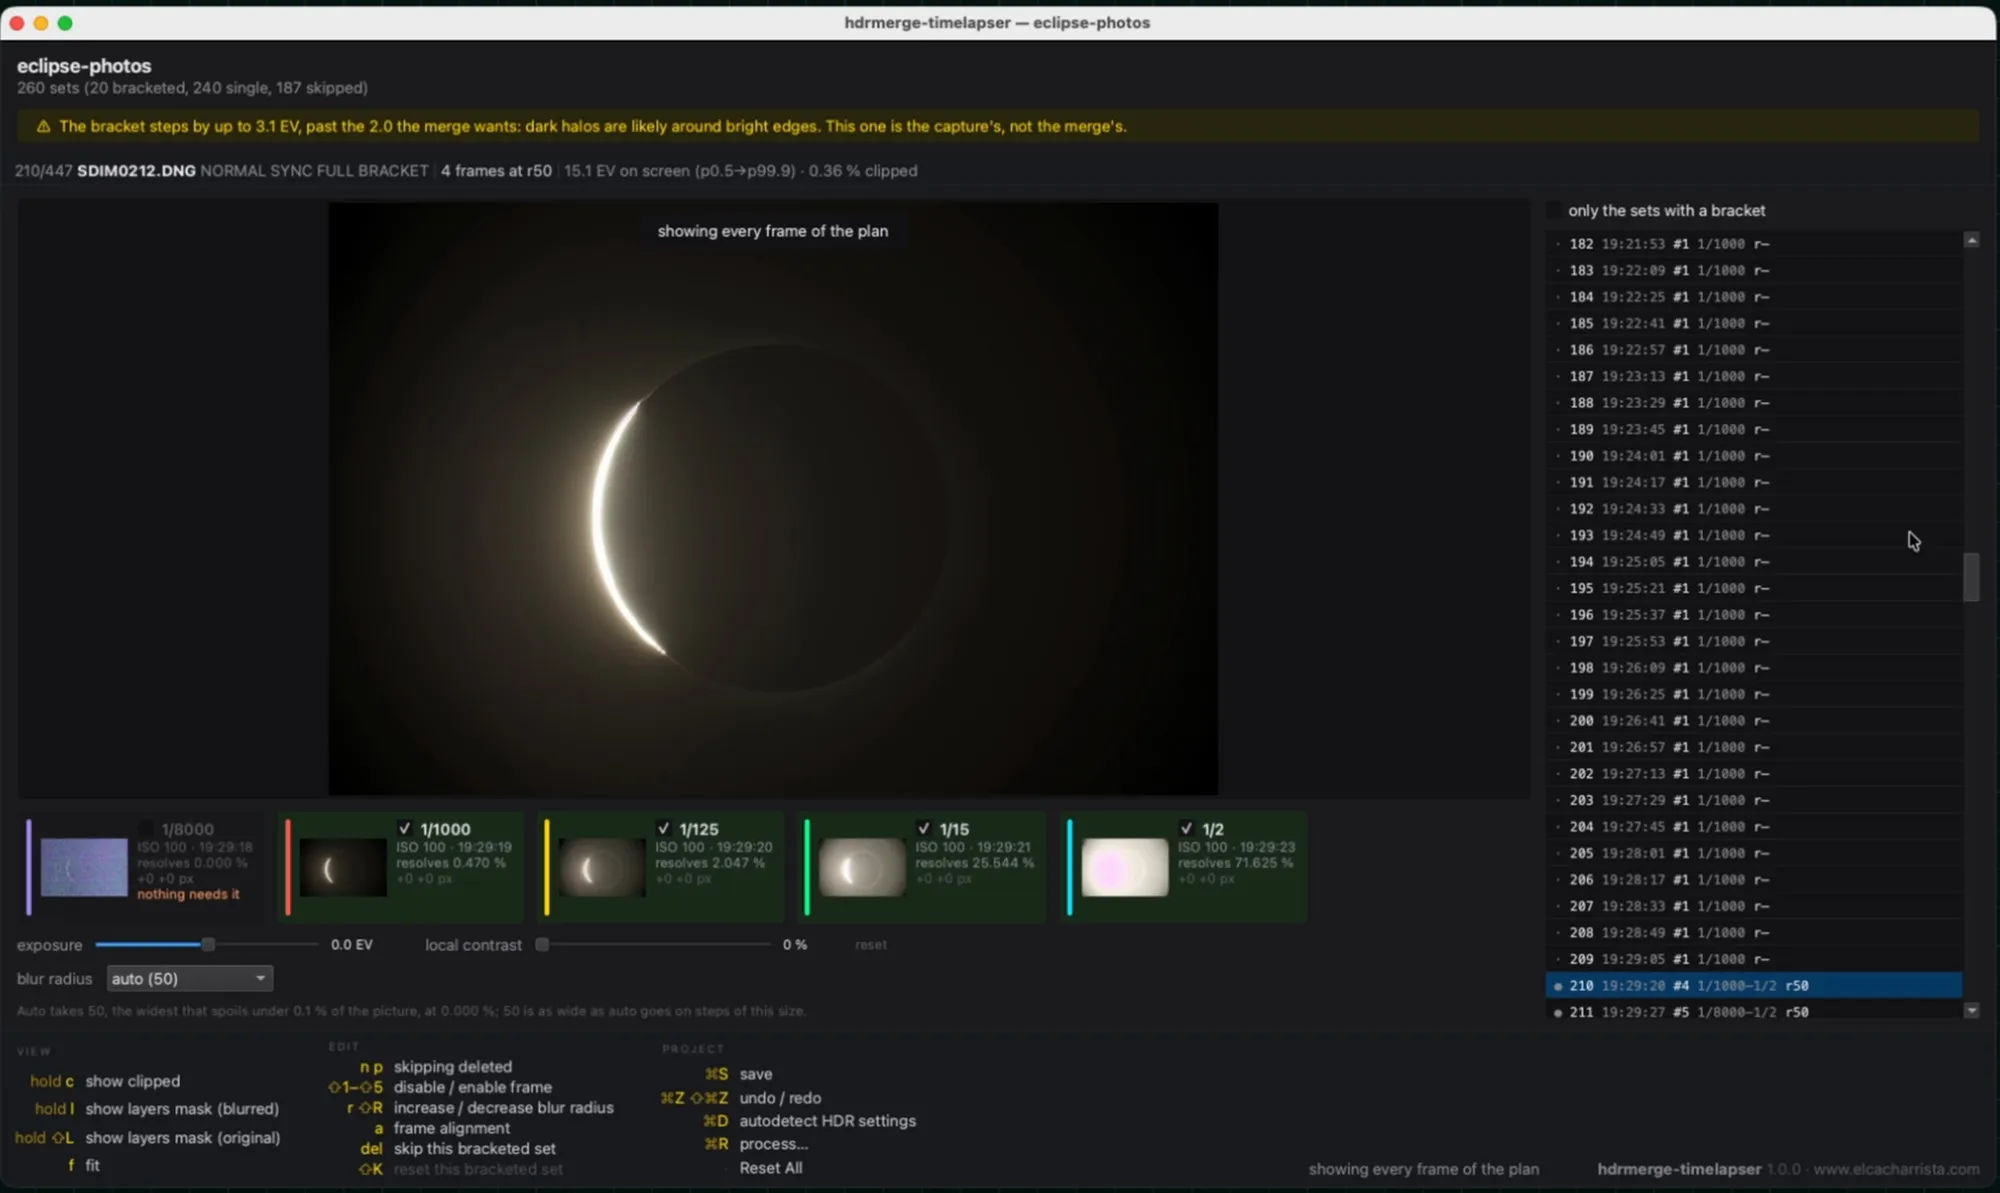
Each exposure in the bracket shows how much of the frame it resolves. At the top, the warning that the steps between shots reach 3.1 EV, above the 2.0 that the merge would like.
Aligning the sequence: eclipse-aligner
For the timelapse I needed the frames aligned, so that the Sun stays in the centre and the Moon moves smoothly. I tried DaVinci Resolve’s tracker and its stabilisation, but I could not make either of them work. So I decided to write a simple tool. I wanted it to find the Sun and the Moon in the frames where both are clear, and to show me the path of each one. Then I could align the rest by hand. eclipse-aligner shifts the image on the Bayer mosaic, before demosaicing. It returns every frame in the format it came in, so a DNG comes out as a DNG.
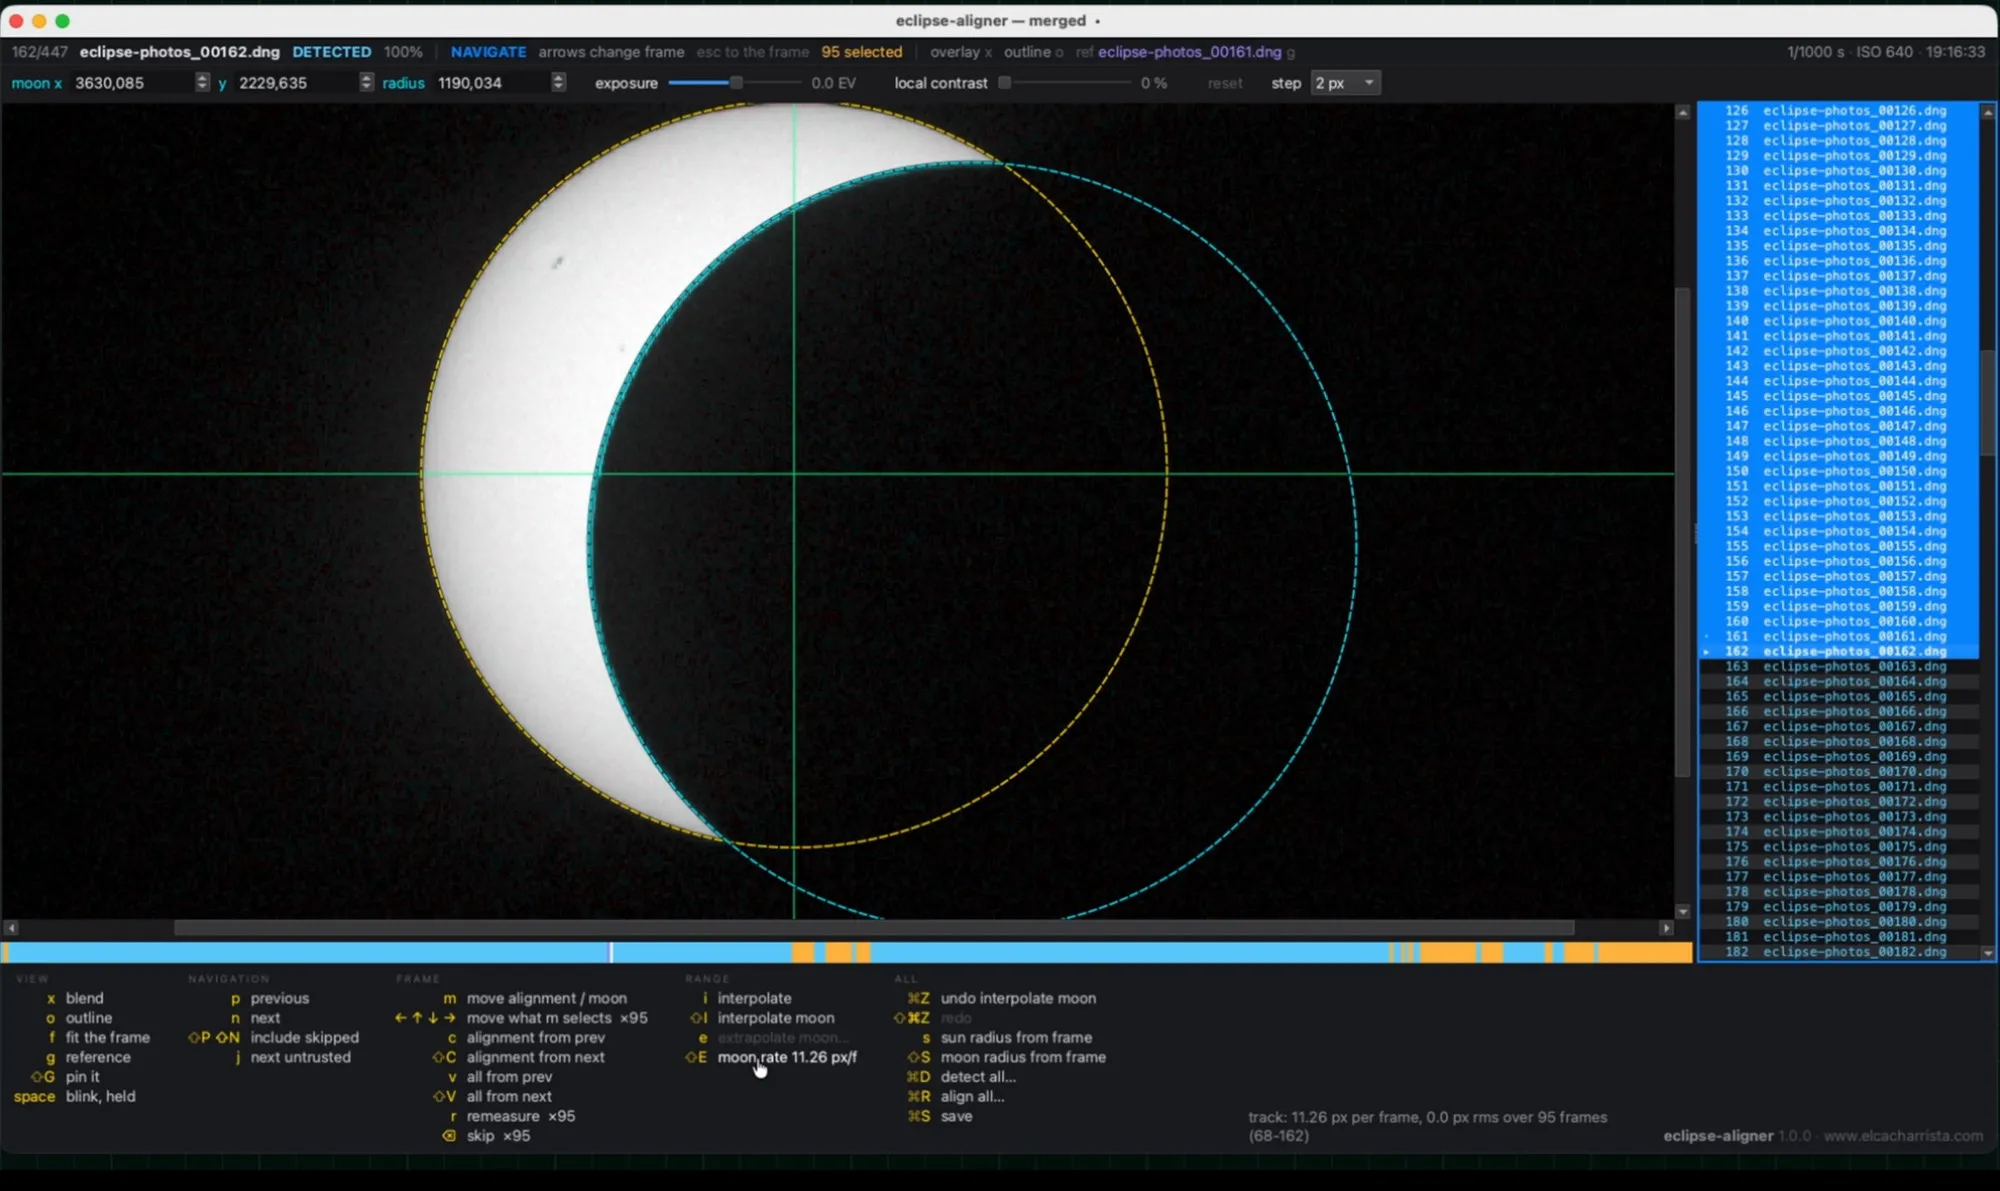
The yellow circle fits the Sun’s disc and the cyan one fits the Moon. Below, the measured speed of the Moon (11.26 px per frame), which is what makes it possible to calculate its position in other frames.
When there is little Sun left, the detection stops working and you have to do it by hand. The Moon moves at a regular speed, so you only need to set its position in two good frames to calculate all the frames in between. During totality you cannot see the Moon’s disc, but the glow around it marks the circle, and that is enough to align against.
Output and edit
DaVinci does not read the floating-point DNG that HDRMerge produces. With 16-bit integer files you get banding in the dark areas, and that is exactly where the corona is. So the merged frames are written as 32-bit OpenEXR, and the rest are copied as DNG. The edit and the exposure matching are done in Resolve, and the speed changes with its Retime Controls.
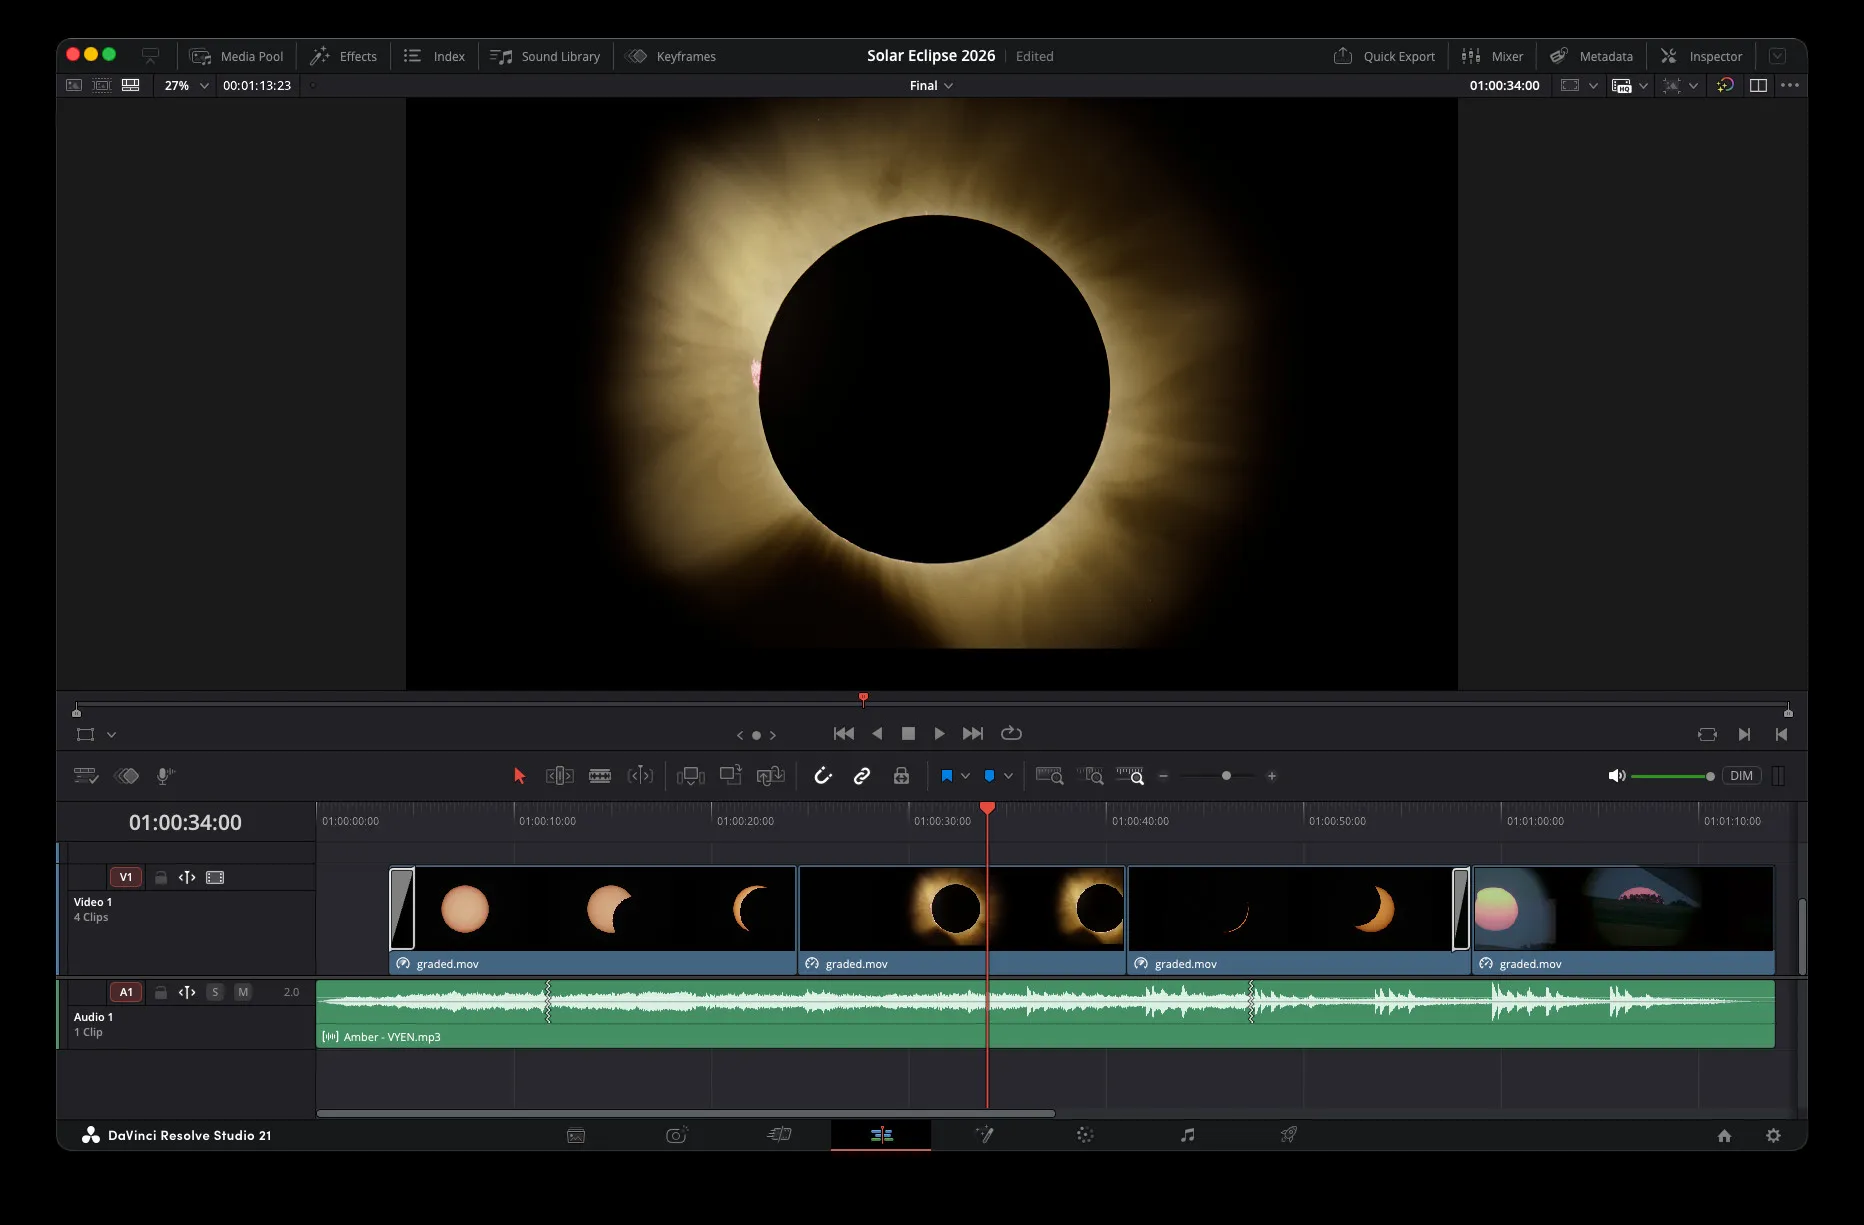
The final edit, using the clean and graded material exported as ProRes. The four clips cover the whole eclipse.
Step-by-step video tutorial
I thought the whole process was worth explaining as a tutorial. It is cut from the timelapse edit itself, and I also used it to try ElevenLabs for the voice-over. There are two more eclipses here next year and the year after, so next time we start with part of the work done and a few lessons learned.
The whole process, with both tools running and the edit in Resolve.
Downloads
Both tools can be downloaded ready to run: a .dmg for macOS (Apple Silicon only, because PySide6 no longer ships universal wheels) and an installer for Windows. They include everything they need (HDRMerge itself, in the case of hdrmerge-timelapser), so there is nothing else to install. The downloads are on the releases page of each repository, on GitHub. They are not signed, so your system will warn you the first time and you have to allow them by hand. The code is there too, with the packaging scripts, if you prefer to build them yourself.
 hdrmerge-timelapser on GitHub
 eclipse-aligner on GitHub
References
- hdrmerge-timelapser — the tool that merges the bracketed frames of a timelapse
- eclipse-aligner — the tool that aligns the frames of the eclipse
- HDRMerge — the RAW merge, by Javier Celaya
- ElevenLabs — the voice used for the tutorial narration
- 74 seconds of totality: how we photographed the 2026 eclipse — the capture, and where all this material comes from